Easter chocolate covered Oreos are a delightful treat perfect for the spring season. These Oreos are coated in smooth, creamy chocolate and decorated with colorful Easter-themed designs including pastel colored Easter eggs and adorable yellow baby chicks. They are a sweet and indulgent way to celebrate the holiday and make a great addition to any Easter basket or dessert table.

This post contains affiliate links, which means that I may make a commission on purchases and/or clicks (at no extra cost to you). Please read our full disclosure here.
These Easter chocolate covered Oreos are a delightful and indulgent treat that will add a touch of sweetness to your Easter celebrations.
These Oreos have been transformed into an Easter-themed delight with a coating of smooth, creamy chocolate, which is the perfect complement to the crisp, crunchy texture of the Oreo cookie.
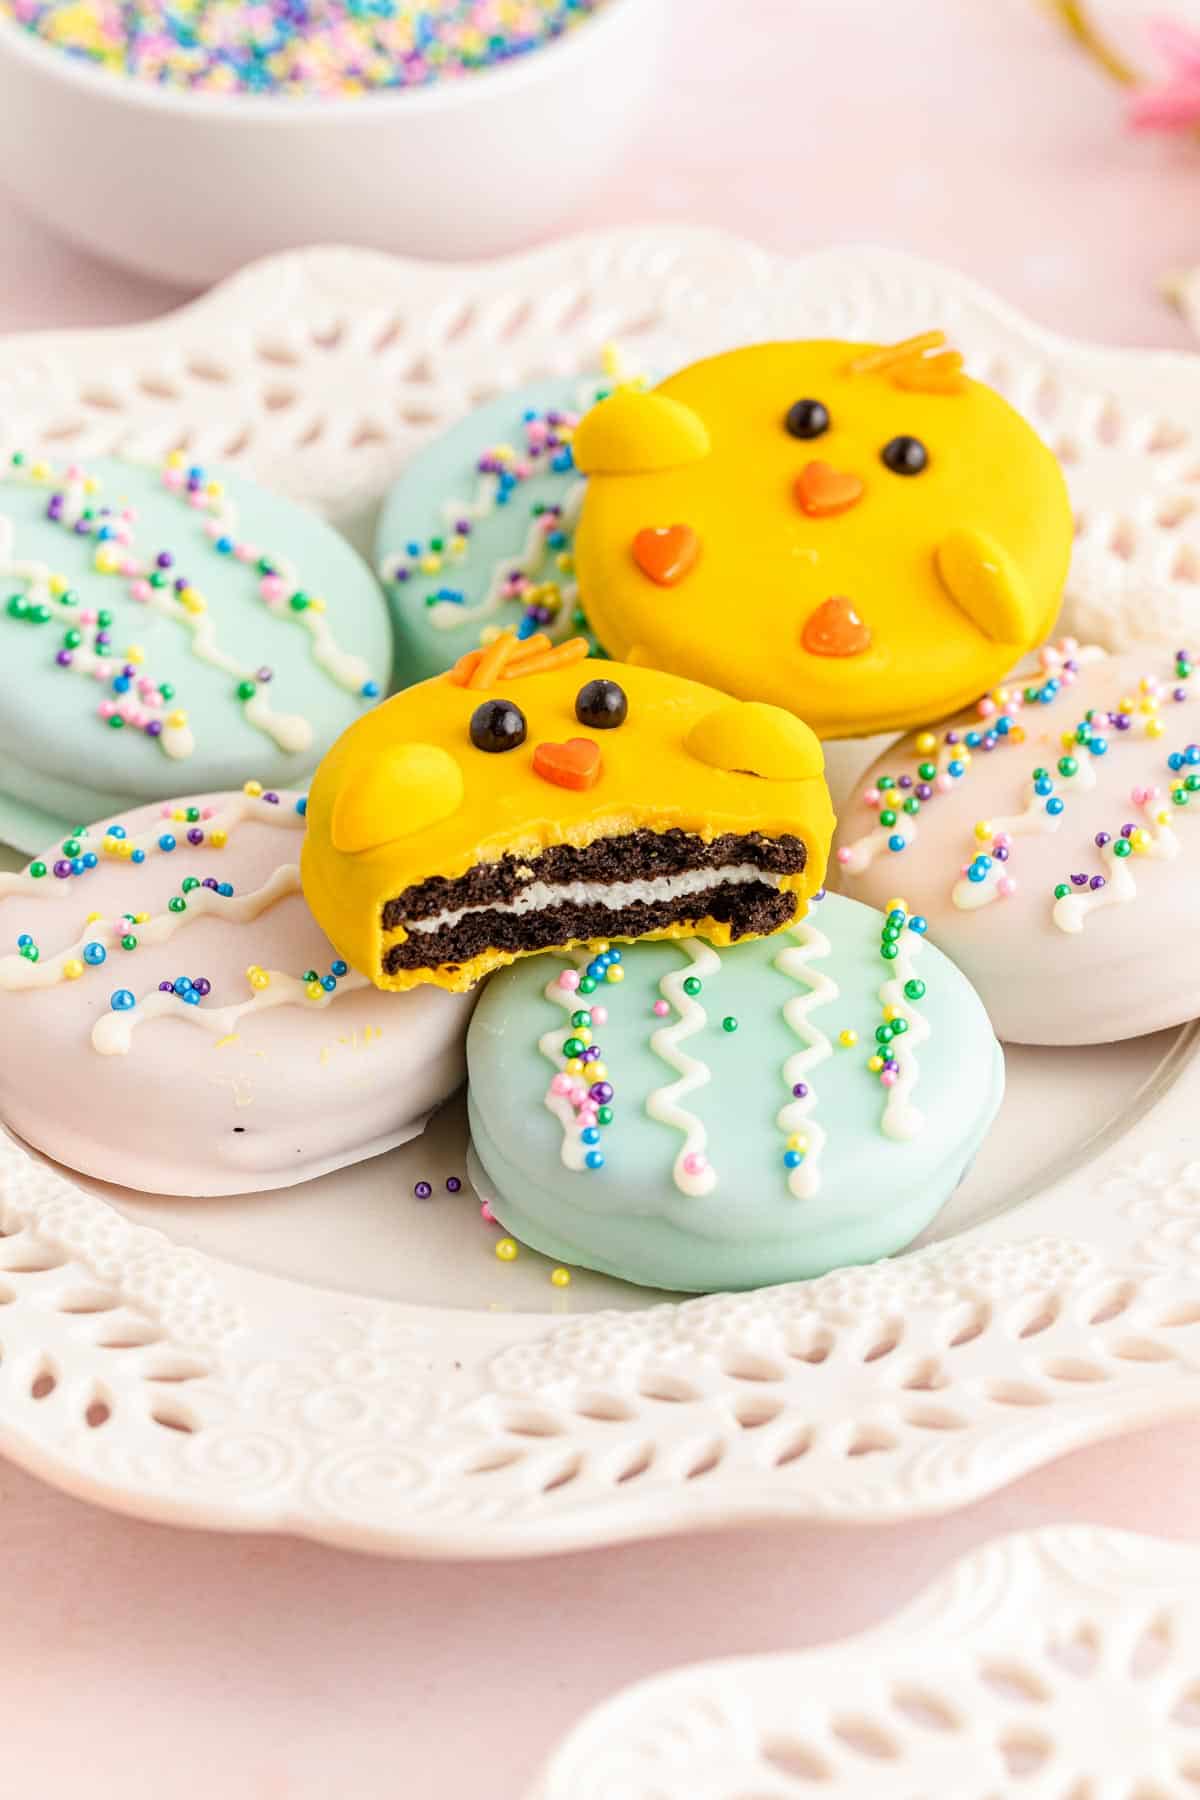
To add an extra touch of whimsy and fun to this already delicious treat, these Easter chocolate covered Oreos are decorated with a mixture of cute and colorful Easter chicks and pink and blue Easter eggs.
The chicks are made by coloring the chocolate yellow and are decorated with orange accents, while the Easter eggs are made using delicate pink and blue hues and colorful sprinkles to make them pop.
Together, these adorable chick and egg Easter-themed Oreos make for a treat that is both visually stunning and absolutely delicious.
Whether you're looking for a fun and festive snack to share with friends and family, or simply want to indulge your sweet tooth this Easter season, these chocolate covered Oreos are sure to satisfy.
Jump to:
Why You’ll Love This Recipe
Get ready for a sweet treat this Easter with chocolate covered Oreos! These crunchy cookies coated in smooth chocolate and decorated with cute Easter-themed designs are the perfect addition to any holiday celebration.
Here are a few reasons why I think you'll love this recipe:
- These adorable Easter-themed treats are easier than they look, with only a few ingredients and minimal prep time needed.
- They make a great DIY project for kids and adults alike, allowing everyone to get creative with their own unique designs.
- They are a fun and festive addition to any Easter basket or dessert table, adding color and whimsy to your holiday spread.
- They are a delicious and indulgent treat that will satisfy your sweet tooth and leave you wanting more.
What You’ll Need To Make Easter Chocolate Covered Oreos
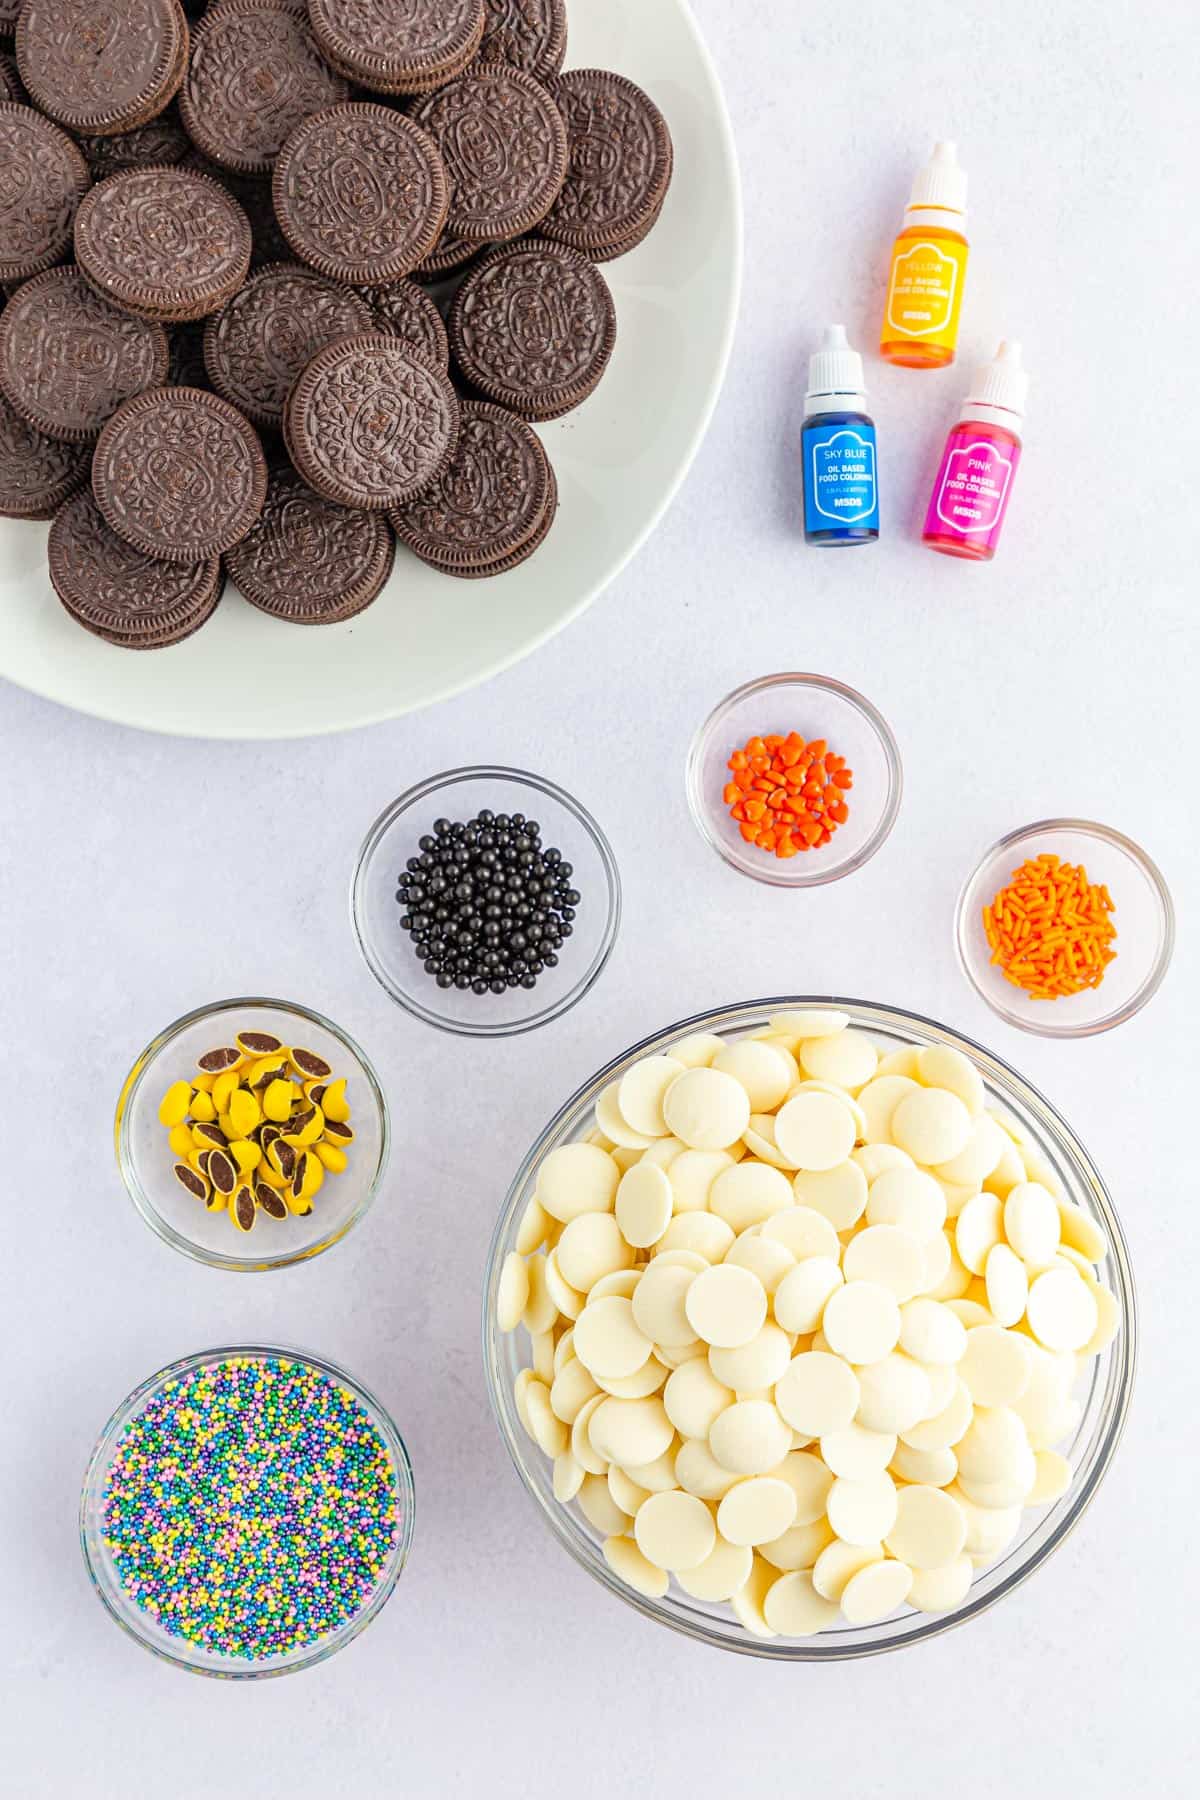
Oreo cookies: These provide the crunchy cookie base for the chocolate covered Oreos. You can use any flavor of Oreos you desire, even Golden Oreos.
Ghirardelli vanilla melting wafers: This chocolate is used to coat the Oreos and provide a smooth, creamy texture. Substitute with any other white melting chocolate if desired.
Oil-based food coloring in yellow, pink, and blue: These are used to add the Easter-themed colors to the chocolate coating. Substitute with any other colors you desire, but make sure they are oil-based or the food coloring may cause the chocolate to seize up.
Small black sugar pearl sprinkles: These are used for the chick’s eyes. These add a cute and realistic touch to the chick decorations.
Small orange heart sprinkles: These are for the chick’s beak and feet: They provide a pop of color and complete the chick decorations.
Orange jimmies sprinkles: These are optional and are used to create the chick’s hair. They add a fun and playful element to the chick decorations.
Yellow M&Ms: Cut in half for the chick’s wings. These provide a wing-like shape to the chick decorations.
Nonpareil sprinkles: These are used to decorate the blue and pink Easter egg Oreos and add a colorful and textured touch to the Easter eggs.
Note: You can easily customize the decorations with your own choice of sprinkles and candies, depending on your preferences and availability.

Step-By-Step Instructions
Looking for a fun and delicious Easter treat that the whole family can enjoy? Look no further than chocolate covered Oreos! With a few simple ingredients and a little creativity, you can transform these classic cookies into adorable and festive Easter-themed treats.
Here's how to make them step-by-step:
Step 1: Line a large baking tray with parchment paper and set aside.
Step 2: Using a double boiler on low heat, melt 1 cup of Ghirardelli vanilla melting wafers, stirring occasionally until smooth. If you don’t have a double boiler, you can melt the wafers in a microwave safe bowl in 30 second increments, stirring at each interval until smooth.
Step 3: Add a few drops of yellow oil-based food coloring to the melted chocolate and stir until the color is evenly distributed.
Step 4: Using a fork or chocolate dipping tool, dip each Oreo into the yellow-colored chocolate coating until it is completely covered. Tap off any excess chocolate and place the coated Oreo onto the parchment paper covered tray.
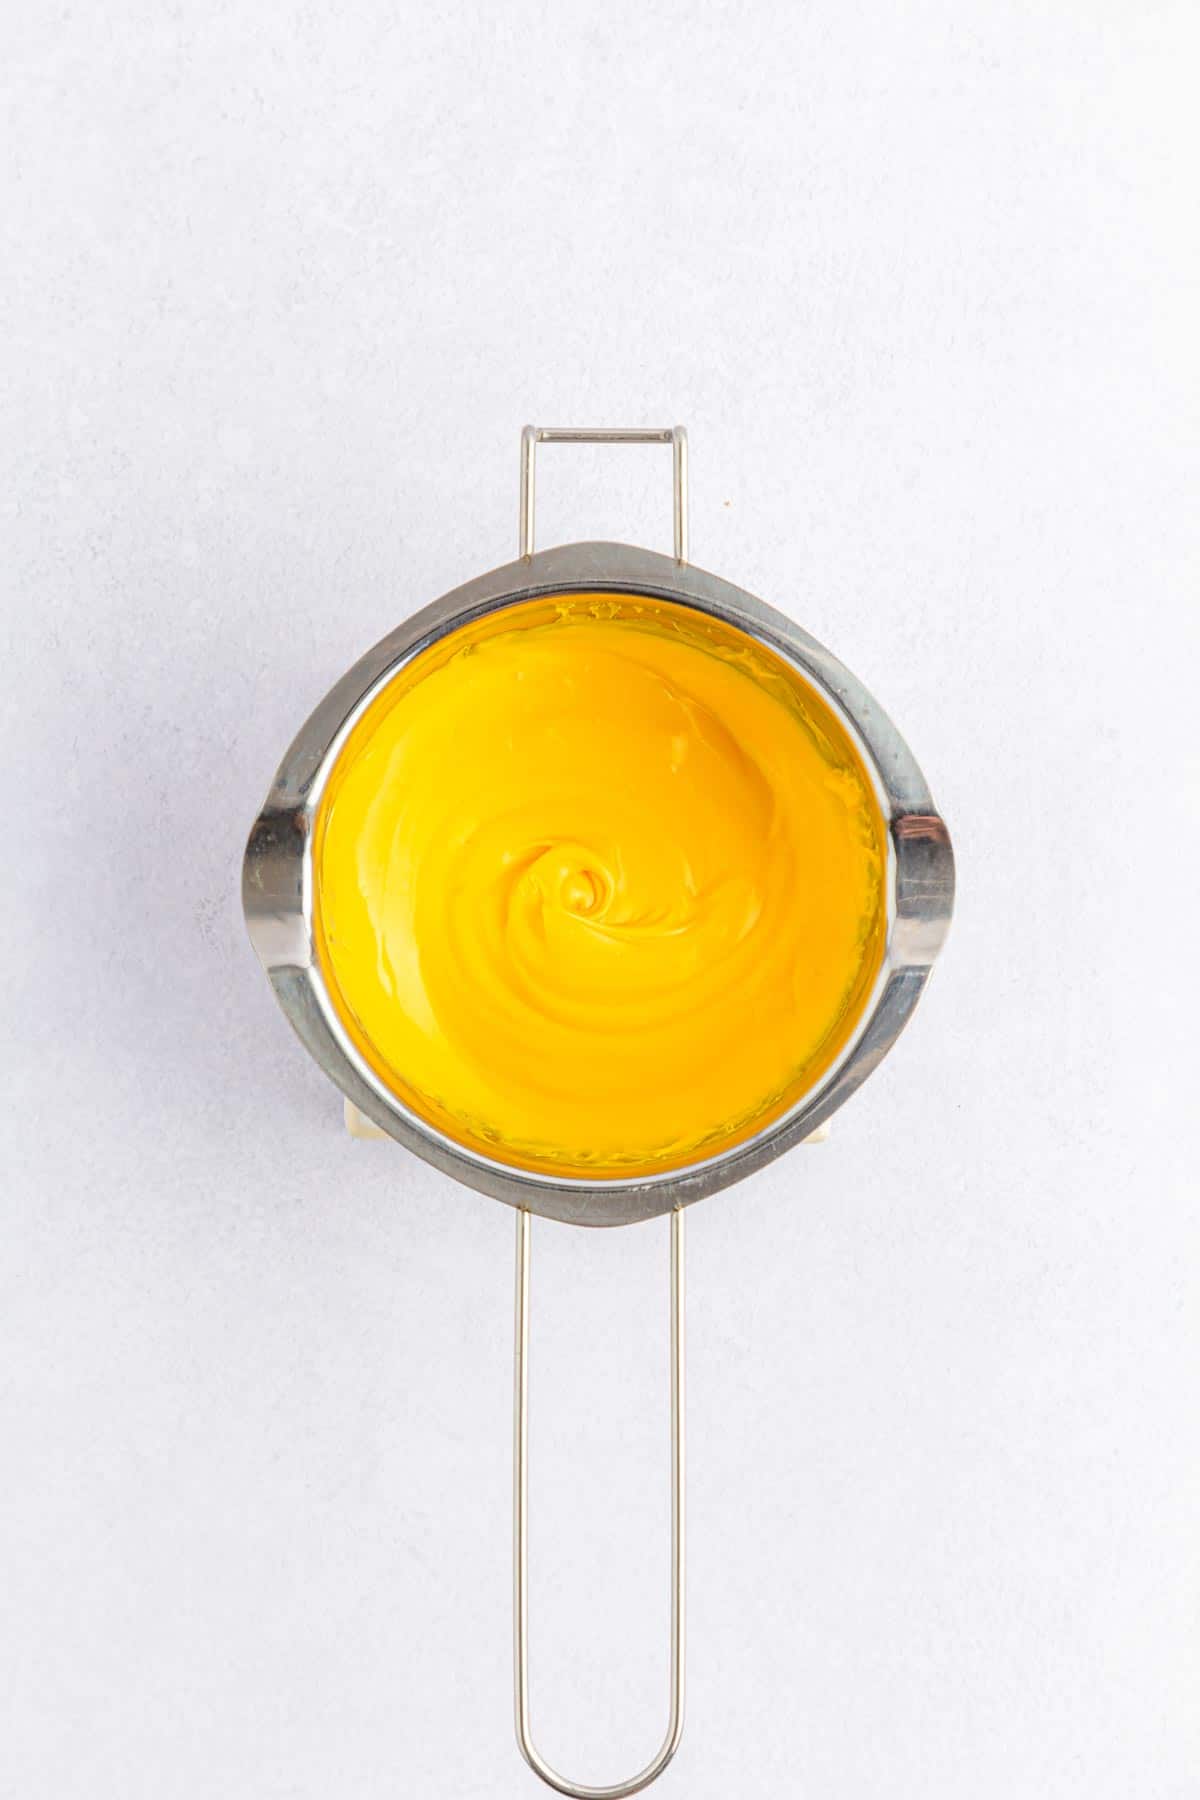
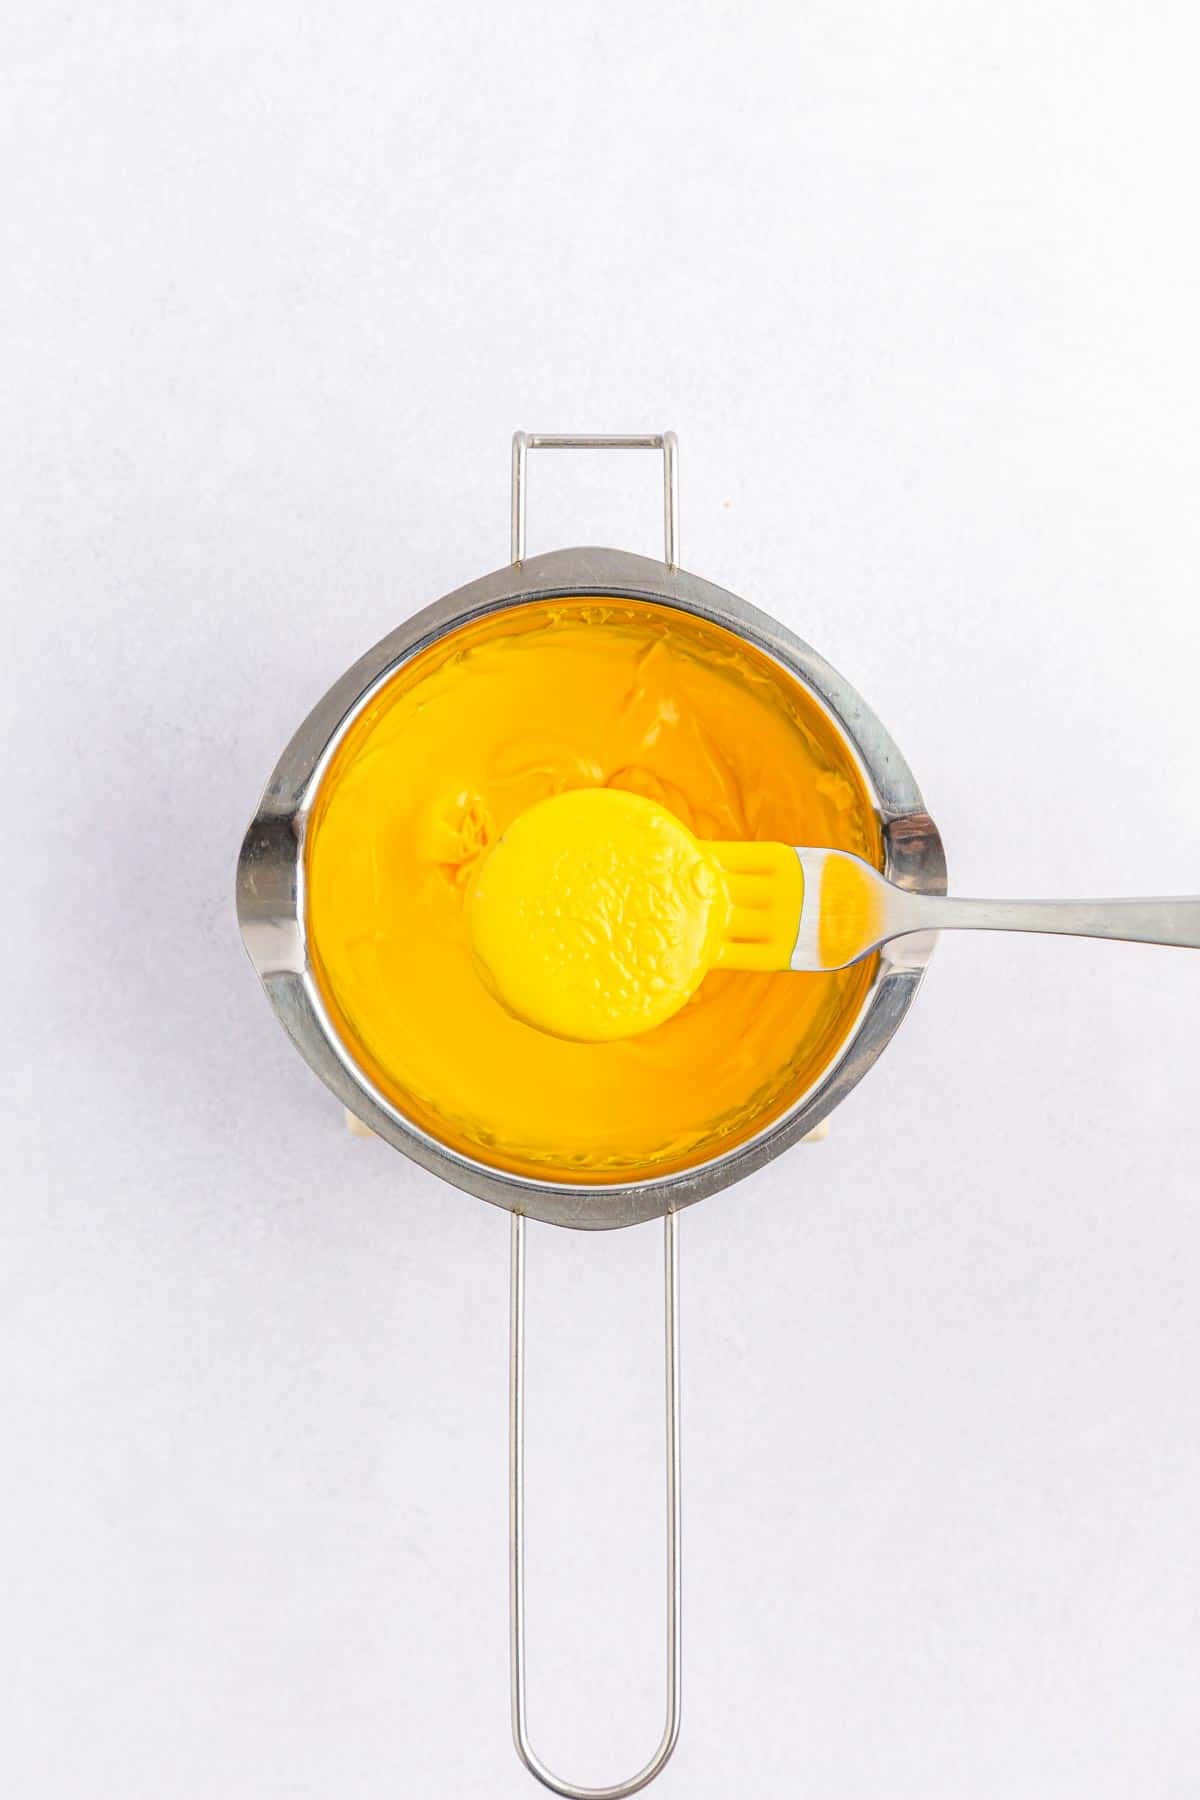
Step 5: Repeat with three more Oreos. You will want to work in small batches and work quickly before the chocolate sets.
Step 6: Once you have four Oreos coated in yellow chocolate, start making the chicks by giving them two eyes. Then add an orange heart for the beak by placing it in the center of the cookie below the eyes. Add two orange hearts towards the bottom edge for feet. Add just a few orange jimmies for the hair. And then place one half of yellow M&M’s on both sides for the wings.


Step 7: Repeat with another four Oreos so that you have eight chick-themed oreos.
Step 8: To make the pink Easter egg Oreos, clean the double boiler and then melt another 1 cup of the vanilla melting wafers, stirring occasionally until melted. Add a few drops of pink food coloring and stir it in. Add additional drops as needed until the desired shade is reached.
Step 9: Using a fork or chocolate dipping tool, dip each Oreo into the pink-colored chocolate coating until it is completely covered. Tap off any excess chocolate and place the coated Oreo onto the tray with the chick Oreos. Repeat this process until you have eight pink Oreos.


Step 10: To make blue Easter egg Oreos, repeat steps eight and nine using blue food coloring.


Step 11: Once you have eight pink and eight blue dipped Oreos, place ½ cup of uncolored melting wafers in a microwave-safe piping bag. Twist the bag shut and microwave in 30 second intervals to melt the chocolate. Massage the bag between each interval to ensure even melting.
Step 12: Snip the tip off the bag and drizzle the white melted chocolate over the pink and blue Oreos. Sprinkle with the nonpareils before the drizzle sets.
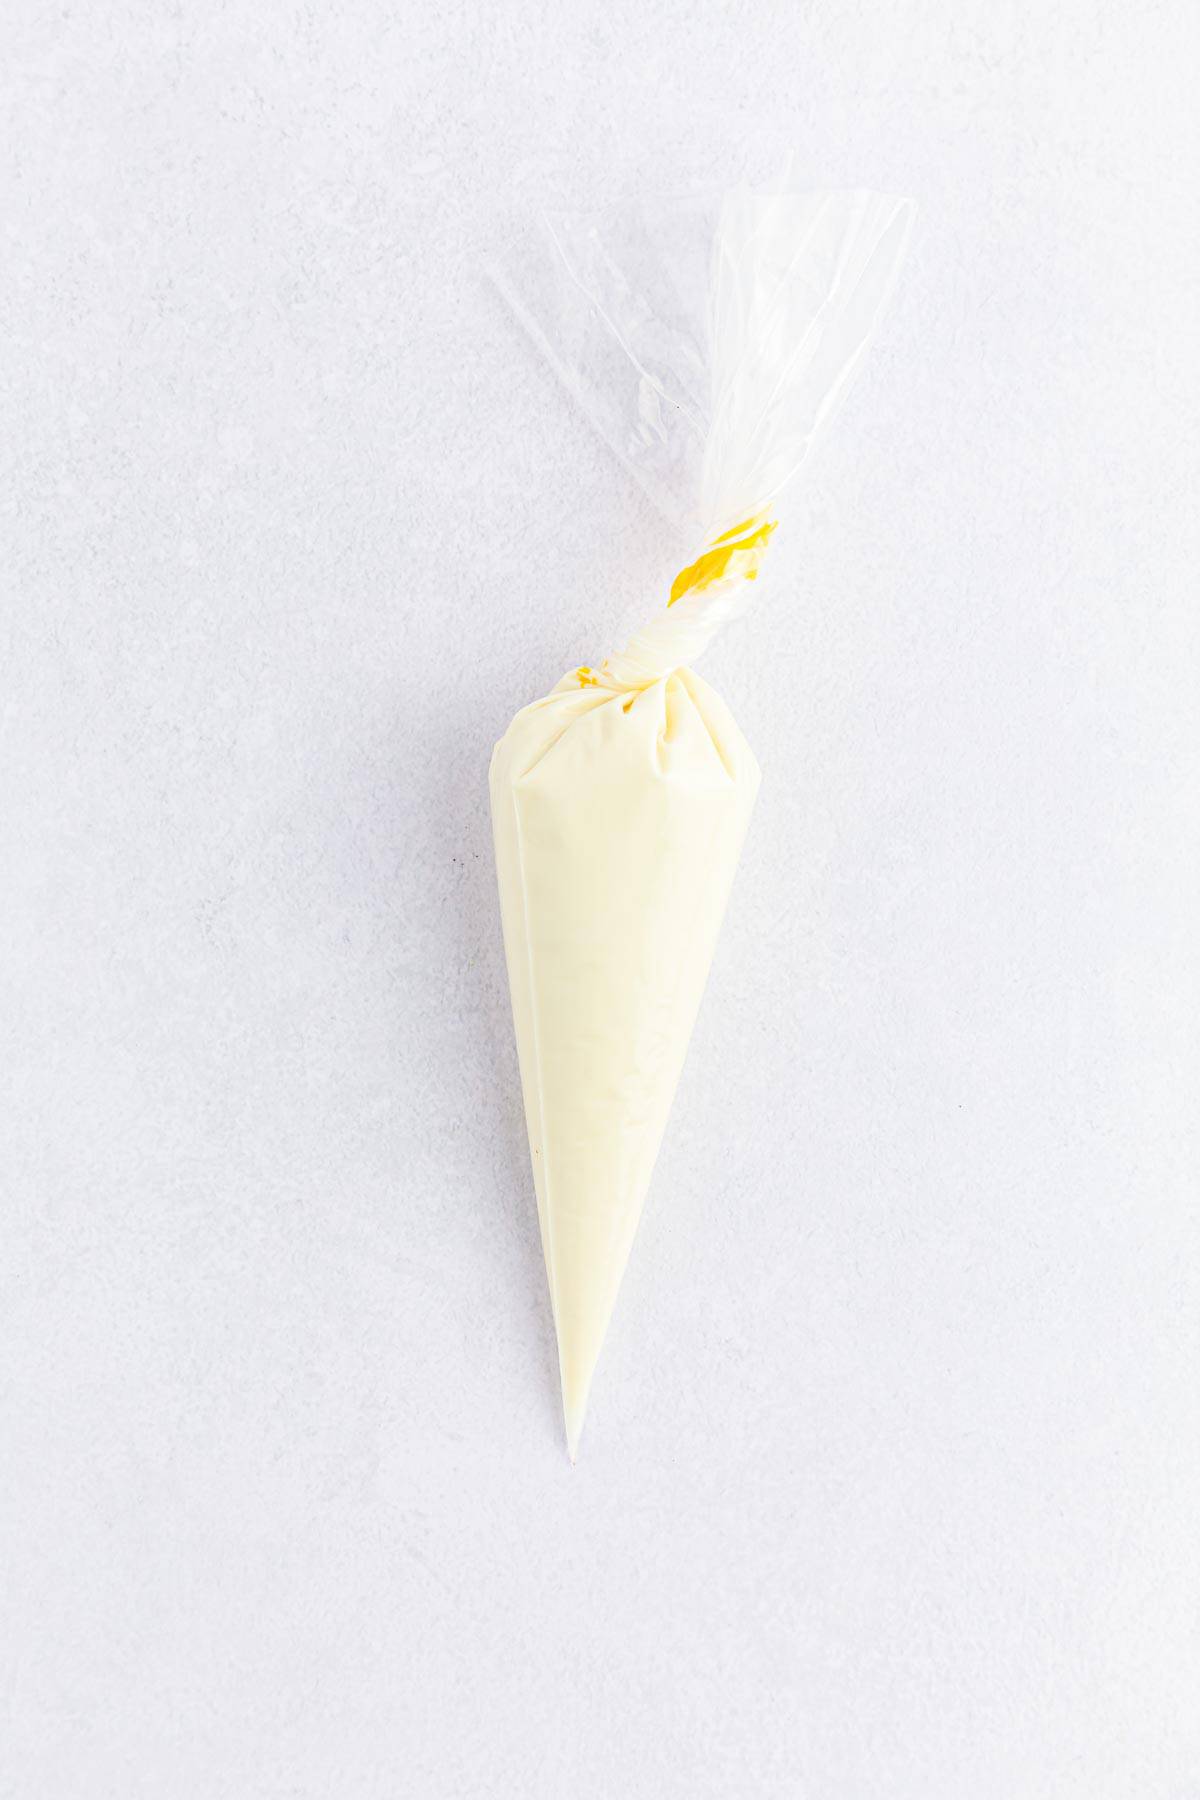

Step 13: Place the tray in the refrigerator for 15 minutes to allow the coating to fully set.
Tips & Tricks For Making The Best Easter Chocolate Covered Oreos
Chocolate covered Oreos are a delicious and fun Easter treat that can be customized with different colors and decorations to suit your tastes. To ensure that they turn out perfectly every time, it's important to follow some essential tips and tricks.
Use high-quality melting chocolate: The type of chocolate you use can make a big difference in the final product. Ghirardelli vanilla melting wafers are a popular choice because they melt smoothly and have a delicious flavor.
Use oil-based food coloring: To color your chocolate, use oil-based food coloring rather than regular food coloring. Oil-based coloring is less likely to cause the chocolate to seize up.
Don't overheat the chocolate: When melting the chocolate, be careful not to overheat it. Follow the package instructions and stir frequently to prevent scorching.
Tap off excess chocolate: After dipping the Oreos, tap off any excess chocolate before placing them on the parchment paper. This will help the chocolate coating set evenly and prevent it from pooling at the bottom of the cookie.
Use a dipping tool: For best results, use a fork or chocolate dipping tool to dip the Oreos into the melted chocolate. This will make it easier to coat the cookies evenly and avoid getting your fingers messy.
Decorate with precision: To create neat and tidy designs on your chocolate covered Oreos, use a toothpick or small decorating brush to apply the sprinkles and other decorations. This will give you more control and allow you to create intricate designs with ease.
By following these tips and tricks, you'll be able to make delicious and beautifully decorated Easter chocolate covered Oreos that are sure to impress.

Serving Suggestions And Substitutions
Easter chocolate covered Oreos are a fun and festive treat that can be served in many different ways. Here are some serving suggestions to try:
Arrange them on a platter: Place the chocolate covered Oreos on a decorative platter and serve them as a sweet snack or dessert at your Easter gathering.
Add them to a dessert board: Create a dessert board with an assortment of Easter-themed treats, including the chocolate covered Oreos, cookies, candies, and other sweets.
Package them as gifts: Wrap the chocolate covered Oreos in clear cellophane bags or gift boxes and give them as Easter treats to friends and family.
Here are some possible substitutions for the ingredients needed to make Easter chocolate covered Oreos:
Oreo cookies: If you don't have Oreos, you can use other cookies with a similar size and shape, such as Nutter Butters or Nila Wafers.
Ghirardelli vanilla melting wafers: If you can't find Ghirardelli vanilla melting wafers, you can use other types of melting chocolate, such as white chocolate chips or candy melts.
Oil-based food coloring: If you don't have oil-based food coloring, you can use powdered food coloring instead. Don’t use water-based food coloring as this will cause the chocolate to seize.
Sprinkles and decorations: There are endless possibilities when it comes to decorating your chocolate covered Oreos. Use your favorite colors, shapes, and textures of sprinkles, candies, and other decorations to make your treats unique and personalized.

How To Store Leftovers
To store leftover Easter chocolate covered Oreos, follow these simple steps:
Allow the chocolate to set completely: After making the chocolate covered Oreos, let them sit at room temperature until the chocolate has hardened and set completely.
Place them in an airtight container: Once the chocolate has set, carefully transfer the Oreos to an airtight container. You can use a plastic container with a tight-fitting lid, or a large zip-top bag.
Store in a cool, dry place: Keep the container of chocolate covered Oreos in a cool, dry place such as a pantry or cupboard. Avoid storing them in direct sunlight or in a warm area, as the chocolate may melt or become soft.
Enjoy within 5-7 days: Chocolate covered Oreos will stay fresh for up to 5-7 days when stored properly. However, they are best enjoyed within the first few days after making them, as the texture and flavor may start to deteriorate over time.
By following these steps, you can store leftover Easter chocolate covered Oreos and enjoy them as a sweet treat for several days to come.
Frequently Asked Questions
Yes, you can use other types of melting chocolate, such as white chocolate chips or candy melts. Just be sure to follow the instructions for melting and tempering the chocolate to ensure a smooth and creamy texture.
While it's possible to freeze chocolate coated Oreos, it's not recommended as the chocolate may develop a white, powdery coating called "bloom" when thawed. If you do freeze them, place them in an airtight container or freezer bag and thaw them at room temperature before serving.
Yes, you can use different types of sprinkles or candies to decorate the chocolate covered Oreos. Get creative and use your favorite colors and shapes to make them unique and festive.
To ensure the Oreos are evenly coated with chocolate, use a fork or dipping tool to fully submerge them in the melted chocolate. Tap off any excess chocolate and scrape the bottom of the Oreo against the edge of the bowl to remove any drips. Place them on a sheet of wax paper or parchment paper to set.

Tools And Equipment For This Recipe
Wilton Dipping Tool Set: This set is useful for making these Easter chocolate covered Oreos because it allows for easy and mess-free dipping of the Oreos into the melted chocolate. The set includes several different tools, making it a versatile and handy tool for any chocolate-covered treat.
Baking Tray: This non-stick baking tray is perfect for laying out your dipped Oreos to set. It's also great for making cookies or other baked goods.
Double Boiler: A double boiler is a great tool for melting chocolate when making Easter chocolate dipped Oreos because it helps to prevent the chocolate from scorching or burning, resulting in smooth and silky melted chocolate.
📖 Recipe

Easter Chocolate Covered Oreos
Ingredients
- 24 Oreo cookies
- 30 ounces Ghirardelli vanilla melting wafers
- oil-based food coloring yellow, pink, and blue
- small black sugar pearl sprinkles
- small orange heart sprinkles
- orange jimmies sprinkles
- 24 yellow M&Ms cut in half
- nonpareil sprinkles
Instructions
- Line a large baking tray with parchment paper and set aside.
- Using a double boiler on low heat, melt 1 cup of Ghirardelli vanilla melting wafers, stirring occasionally until smooth. If you don’t have a double boiler, you can melt the wafers in a microwave safe bowl in 30 second increments, stirring at each interval until smooth.
- Add a few drops of yellow oil-based food coloring to the melted chocolate and stir until the color is evenly distributed.
- Using a fork or chocolate dipping tool, dip each Oreo into the yellow-colored chocolate coating until it is completely covered. Tap off any excess chocolate and place the coated Oreo onto the parchment paper covered tray.
- Repeat with three more Oreos. You will want to work in small batches and work quickly before the chocolate sets.
- Once you have four Oreos coated in yellow chocolate, start making the chicks by giving them two eyes. Then add an orange heart for the beak by placing it in the center of the cookie below the eyes. Add two orange hearts towards the bottom edge for feet. Add just a few orange jimmies for the hair. And then place one half of yellow M&M’s on both sides for the wings.
- Repeat with another four Oreos so that you have eight chick-themed oreos.
- To make the pink Easter egg Oreos, clean the double boiler and then melt another 1 cup of the vanilla melting wafers, stirring occasionally until melted. Add a few drops of pink food coloring and stir it in. Add additional drops as needed until the desired shade is reached.
- Using a fork or chocolate dipping tool, dip each Oreo into the pink-colored chocolate coating until it is completely covered. Tap off any excess chocolate and place the coated Oreo onto the tray with the chick Oreos. Repeat this process until you have eight pink Oreos.
- To make blue Easter egg Oreos, repeat steps eight and nine using blue food coloring.
- Once you have eight pink and eight blue dipped Oreos, place ½ cup of uncolored melting wafers in a microwave-safe piping bag. Twist the bag shut and microwave in 30 second intervals to melt the chocolate. Massage the bag between each interval to ensure even melting.
- Snip the tip off the bag and drizzle the white melted chocolate over the pink and blue Oreos. Sprinkle with the nonpareils before the drizzle sets.
- Place the tray in the refrigerator for 15 minutes to allow the coating to fully set.
Notes
Nutrition
* Nutritional information is based on third-party calculations and should be considered estimates. Actual nutritional content may vary based on brands of ingredients used, measuring methods, portion sizes, and more.









Leave a Reply